


|
|
|
Last updated 12/3/09 I had a few setbacks over the past several weeks that limited my progress on the RZ. But now I'm back on task and proceeding on a track that should have making fragrant blue smoke signals before Thanksgiving. But I've learned not to rush towards an arbitrary deadline with this project, and so if it stretches out a little further, so be it. And my wife and I have a week-long trip to the cabin planned starting this Thursday where I have other bikes that need a good rip down a mountain road to keep them fresh. I have to keep my priorities in order after all.
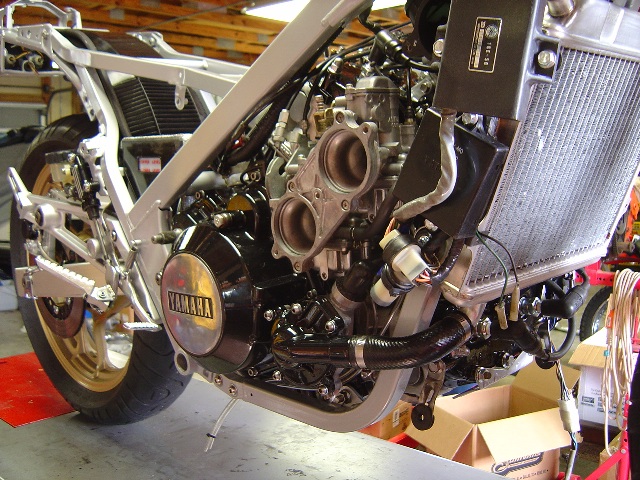
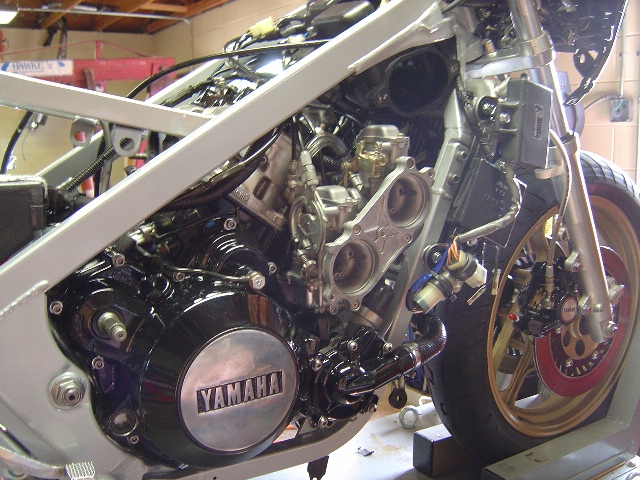
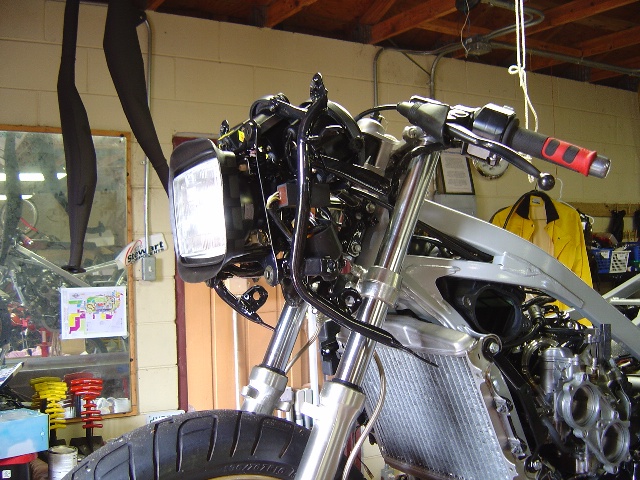
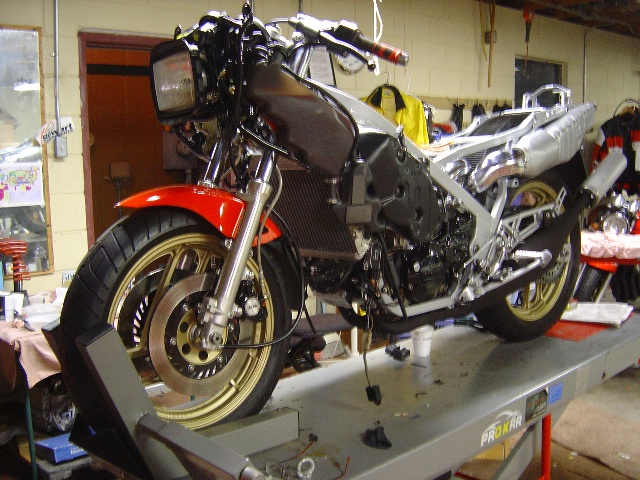
With the motor installed, it was now time to fit the peripherals. These pictures show the carbs mounted with the throttle & choke cables installed, but in these photos I've yet to install the air box side-boxes. The radiator is also mounted and plumbed. The two electronic boxes mounted on the radiator side are the CDI and the YPVS controller.
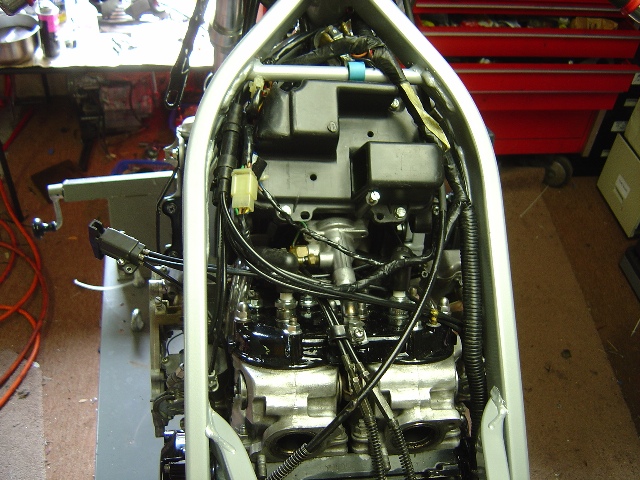
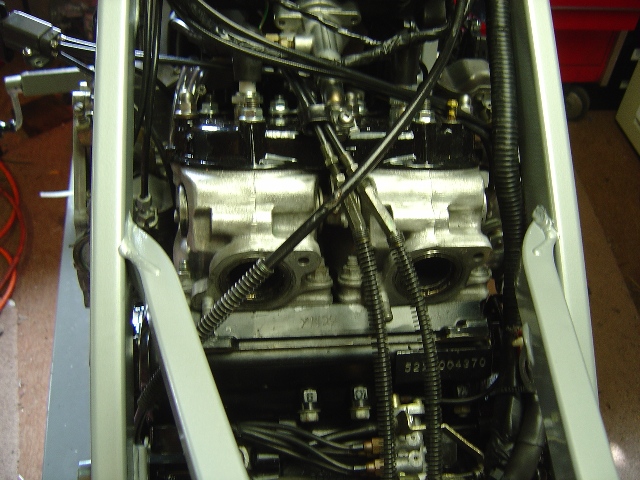
From the top you can see the top air box which holds the air filter, the cooling system thermostat is visible just below it. Each of the throttle cables, (open/close), incorporates a splitter box sending secondary cables to the carb linkages on either side of the bike. The 'open' splitter box has an additional cable that goes to the auto-lube pump. You can see the choke mechanism hanging off to the left which actuates four separate cables, one to each carb. The two cables routed over the top of the cylinder head connect the YPVS motor with the front and rear exhaust power-valve linkages.
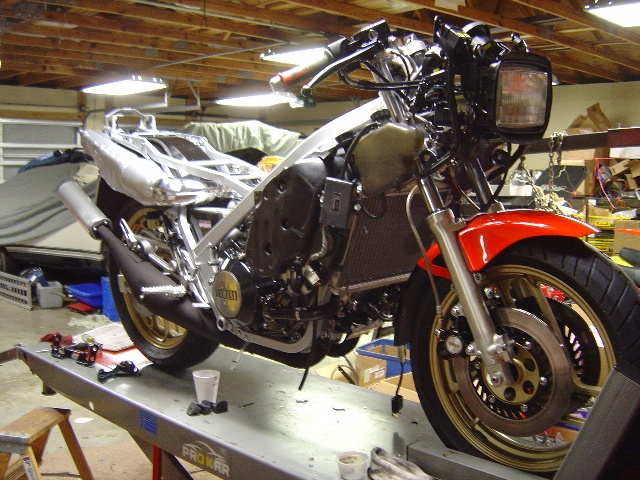
The upper fairing bracket not only supports the cowl and headlight, it also houses the instruments and various electronic components.
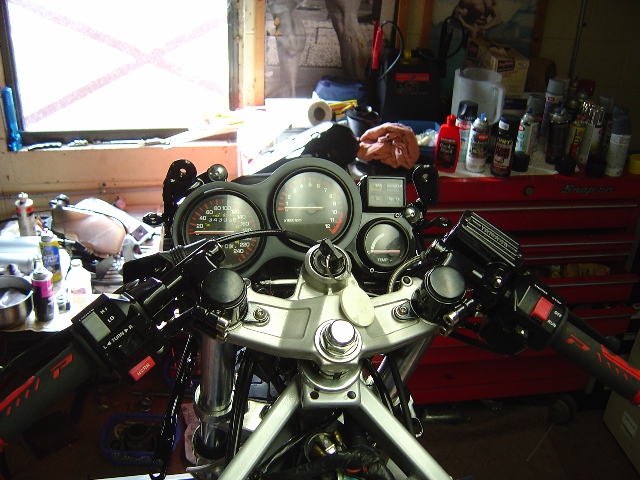
The instruments are installed and wired. After I had the front brake master cylinder installed and bled, I discovered a leak around the sight glass. I bought and installed a replacement glass from New River Cycle and on the second try was able to get it to seal without leaking. I'll post an up close picture of the new sight glass later.
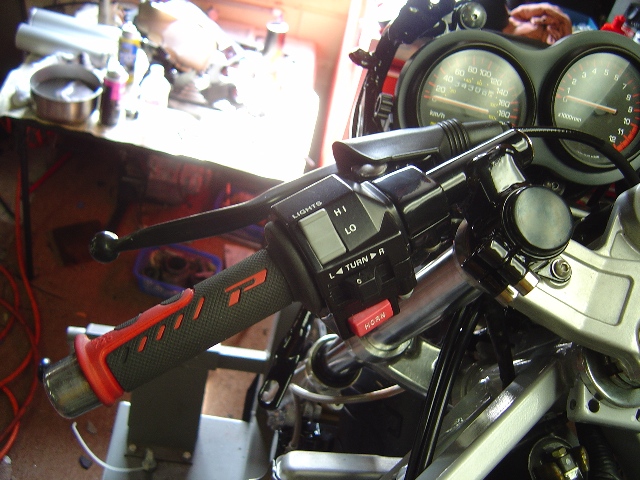
The clutch perch and a new cable on the left, and the freshly rebuilt front brake master cylinder on the right. I stripped the paint from the bar-end weights, then polished and clear-coated them. Between waiting for parts and replacing the sight-glass, getting the front brake master cylinder right set me back about three weeks.
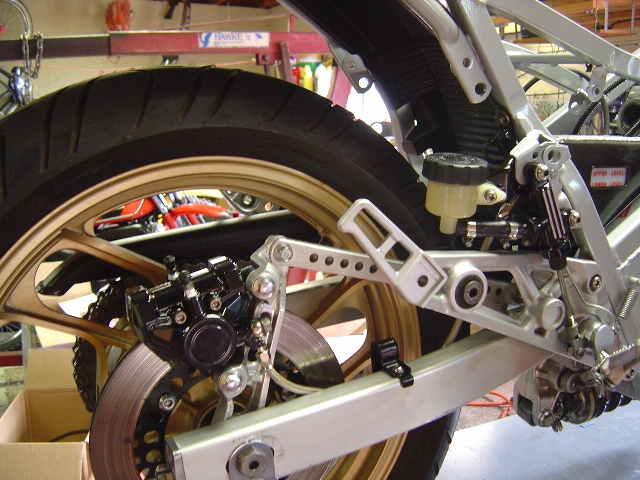
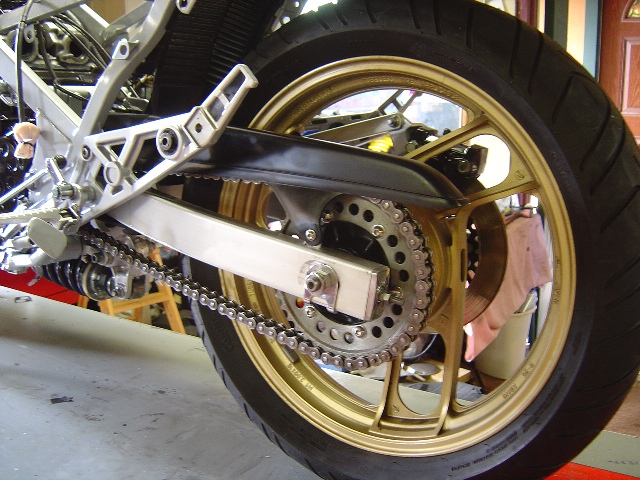
The rear wheel complete with the brake caliper, master cylinder, and new stainless line mounted and bled on the right-hand side. I had to re-shim the rear wheel to get the rotor to line up perfectly in the caliper. Eighties quality control wasn't always what it could have been.
And the new chain and sprockets shown in all their gleaming steel glory on the left. Note the vents molded into the inner fender to allow cooling air to pass over the rear cylinder's expansion chambers.
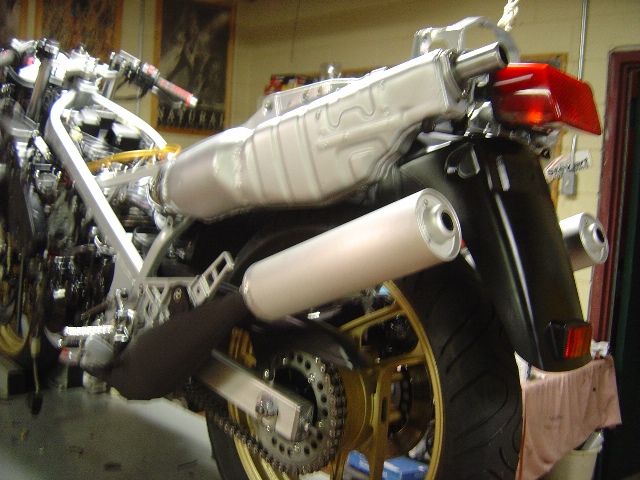
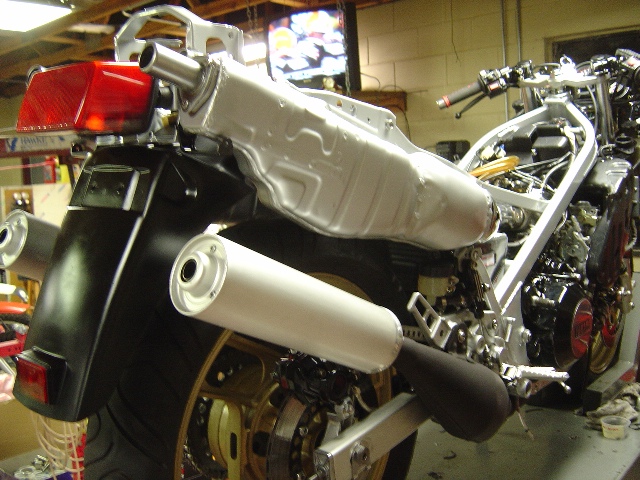
These pictures how the upper and lower expansion chambers installed, all freshly painted. Like most RZ500's on the roads these days, the rear fender on the bike when I acquired it had been cut. I bought this full rear fender from a seller in South Africa. It was in less than perfect shape when I got it, but cleaned up rather nicely.
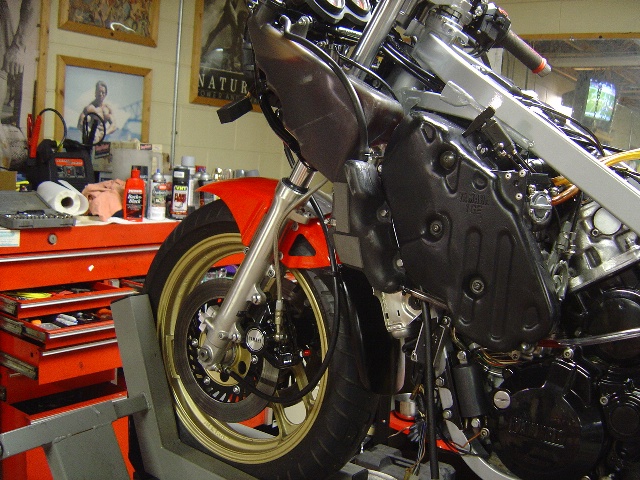
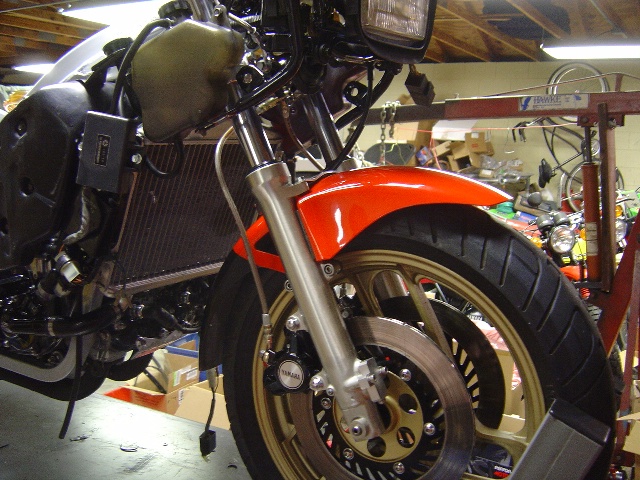
The front end mostly complete; calipers plumbed and bled, side air boxes installed, and auto-lube & coolant overflow tanks installed. I have blank-off plates installed in place of the stock anti-dive units on the fork legs. Even when new, they never really functioned as Yamaha originally intended, and I didn't like the clutter and all the additional plumbing. At this point the electrics are all wired and functioning with the exception of the blinkers.
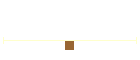
The next step will be to install the gas tank and fire it up to make sure everything works and check for leaks before fitting the new bodywork. The last time I rode it was in August. I'm looking forward to getting this classic back on the road and again being the EPA's public enemy #1.
Rebuild - Getting Started (taking it apart) Re-assembly, Putting the Pieces Together (the next chapter) Done (complete, off the bench, and ready to ride) RZ500 Home (back to the 'before' page)
|